“Where are we up to?” is the question clients ask most. The client portal answers it for you: a private page your client can open on any device to see their countdown, planning progress, key dates and booked suppliers. It updates itself as you work, so there’s nothing extra to maintain.
Professional+Available on Professional and Agency plans. Compare plans
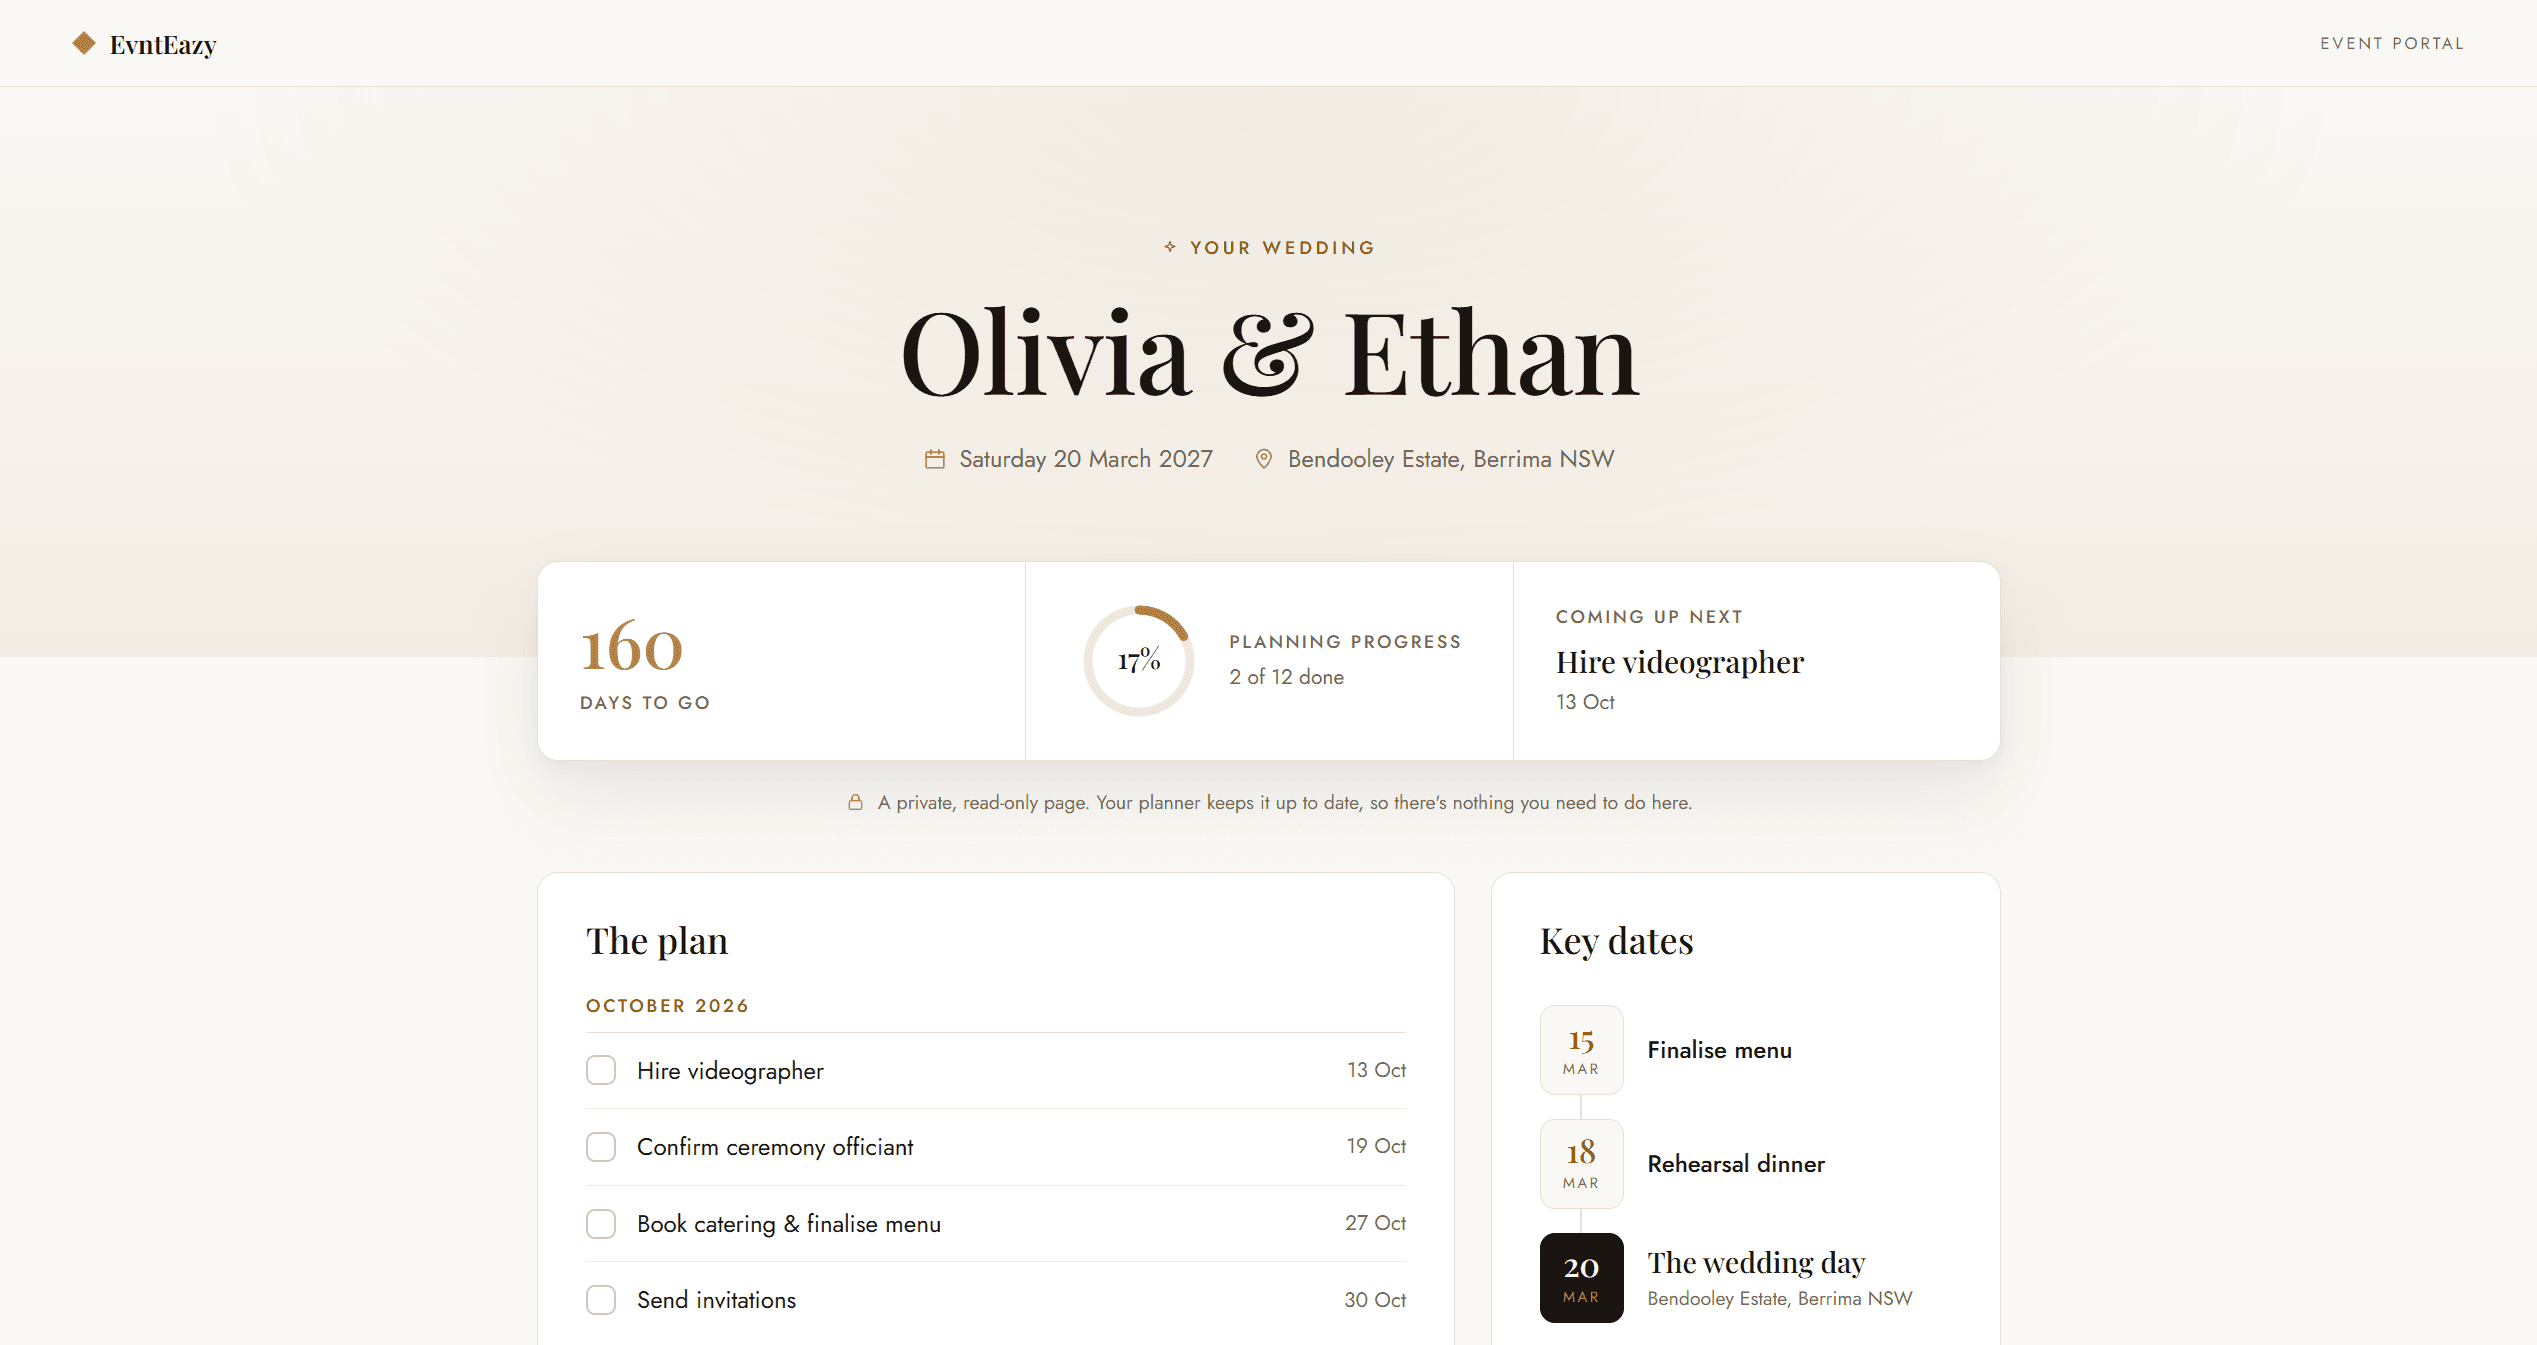
What your client sees
- The event name, date and venue, for example “Olivia & Ethan”, under a “Your wedding” heading for weddings.
- Days to go, counting down to the event.
- Planning progress: the percentage of tasks complete, such as “2 of 12 done”.
- Coming up next: the next open task and its due date.
- Key dates: every task you’ve starred as a Key Task, plus the event day itself.
- Your suppliers: vendors you’ve marked as Booked or Confirmed, with their category.
- The plan: open tasks grouped by month, with a count of what’s already completed.
What stays private
The portal is read-only, and clients can’t change anything. It doesn’t show your budget, costs, payments, internal notes, files or the vendors you’ve only enquired with. Those stay in your workspace.
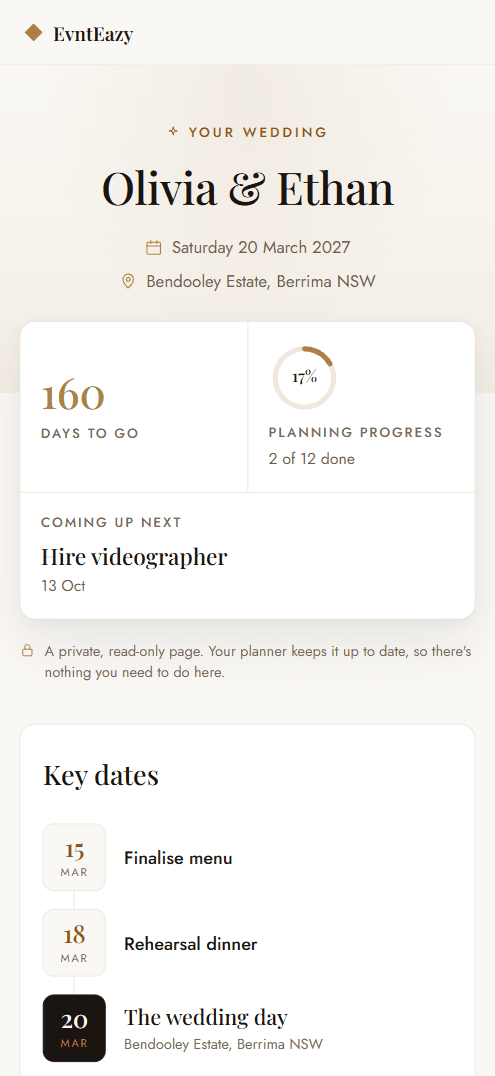
Share the portal
- Open the event from My Events.
- Click Share Portal at the top of the event page.
- Click Copy Link.
- Paste the link into an email or message to your client. Each event has its own private link, and it stays the same for the life of the event.
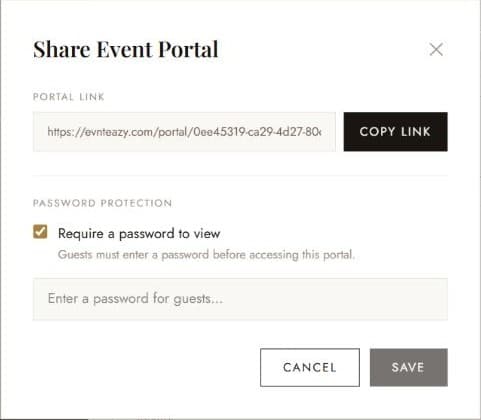
Add password protection (optional)
Anyone with the link can view the portal, which is usually fine because it holds no financial details. For high-profile clients, or if the link may be forwarded around, add a password:
- In the Share Portal window, tick Require a password to view.
- Type a password for your client.
- Click Save. The button on the event page now shows a 🔒.
- Send the password to your client separately from the link, for example by text message.
Your client enters the password once when they open the portal. After several wrong attempts, the portal asks them to contact you for the correct password.
Make the portal useful
The portal reflects your event, so a few habits make it look great:
- Give tasks due dates. Tasks without one appear under “No date yet”.
- Star key tasks such as the menu tasting or final fitting so they appear under Key dates. See Understanding the event page.
- Update vendor status to Booked or Confirmed as suppliers sign on, so clients see their team grow.
- Tick tasks off as you go. The progress ring is the first thing your client notices.
Which plans include client portals?
Client portals are part of the Professional and Agency plans. On Free and Starter, the Share Portal button shows a lock and takes you to your subscription page to upgrade.
Try it on your own events
Explore the live demo with sample data, or start free with one active event. No credit card required.
Questions? Email info@evnteazy.com or use Support in your dashboard. We read every message.